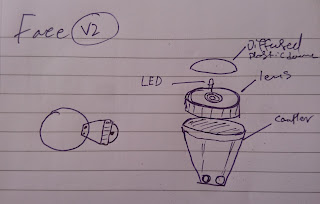
As the week moved on I ordered a new bearing to stabilize the construction. As I waiting I finished designing the lens of the face of the animatronic. Below is the current revision with an RGB LED inserted into a clear 3D printed lens used to diffuse the light.
I then redesigned the MDF pieces of the body to fit the larger bearing. The axle mounts were redesigned to not have a cutout in the top half and for the upper motor to be closer the the axle to reduce the length of the timing belt.
I also took the opportunity to start producing the finishing aesthetic pieces of the character. the below image shows the "McCloud Security" body plate. This being the manufacturer of the character.
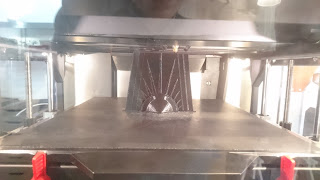
Below we have another aesthetic piece, the sides of the character. Keeping with vintage style of the logo above I opted to involve a simple Art Deco design in black to break up the plain and solid white of the body plates. The MDF will be sealed and be painted in a mat white.
I then moved on to finalizing and rewiring the whole unit's circuitry. As I am using Arduino units I wanted to optimize their construction for better durability during movement.
Below is one of the smaller units. For all the motor controllers I have added stackable header pins and desoldered the drivers in an effort to compartmentalize the units. If there is an fault with the drivers, batteries or microcontrollers They can be swapped out for a swift recovery.
Below is the rewired base circuitry.
The base circuitry with stick-able Velcro adhering them to the base platform itself.
The batteries ready and set.
The final construction of the unit minus the decoration. Note the added cross bars on the body to add vital support. The large bearing was poorly manufactured and bent, therefor I have returned to the original bearing. Though with the reconstruction using nylock nuts, crass bars and properly fitted bearings the unit is far stabler than before, demonstrated in the video below.
My next step is to tweak the controls for more precise movement and finish the decoration of the animatronic. Home stretch.


